Your band of mercenaries drags through the doors of The Sleeping Lion and collapses into rickety chairs around a vacant table. The only thing that stings worse than the cuts, scrapes, and bruises you endured on your last mission is the empty stomach gnawing at you the rest of this night. “Everyone’s got to eat,” you said before this journey began. But gold does not accompany failure. You make an oath under your breath; next time, things will be different.
I gave Gloomhaven well-deserved praise upon its release in 2017. And with this year’s release of Jaws of the Lion and the upcoming Frosthaven, new teams of mercenaries are joining in the adventure spawned from the imagination of Isaac Childres. Gloomhaven pulls no punches as it sets loose the deadly minions and monsters upon your team of mercenaries, forcing players to learn the overt and subtle nuances of the game design in order to succeed.
I’ve played through the entire campaigns of both Gloomhaven and Jaws of the Lion and am over halfway through a second campaign in both. Logging in well over 100 plays, I still find challenges lurking in the swamps, sewers, forests, and mountains of the Gloomhaven-verse. But I’ve learned a thing or two along the way. Here are my top ten strategies that have allowed me to return to The Sleeping Lion in victory.
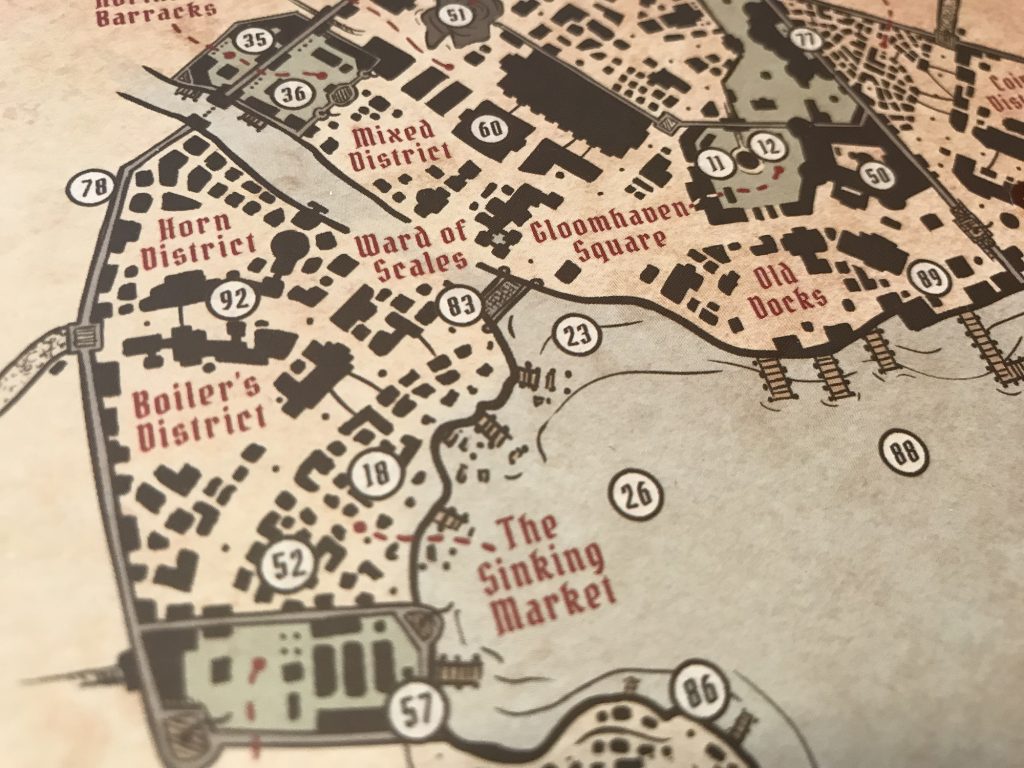
Get Clued In – Identify Your Objective
The first thing your party should do sounds like a no brainer; read the objective. But this is an easily overlooked piece of strategy that can save you from worlds of hurt on certain scenarios. Many scenarios have the simple objective “Kill all enemies,” and it’s very easy to fall into a rhythm of this becoming your standard approach. If the scenario says anything other than this, you may need to pay a bit more attention.
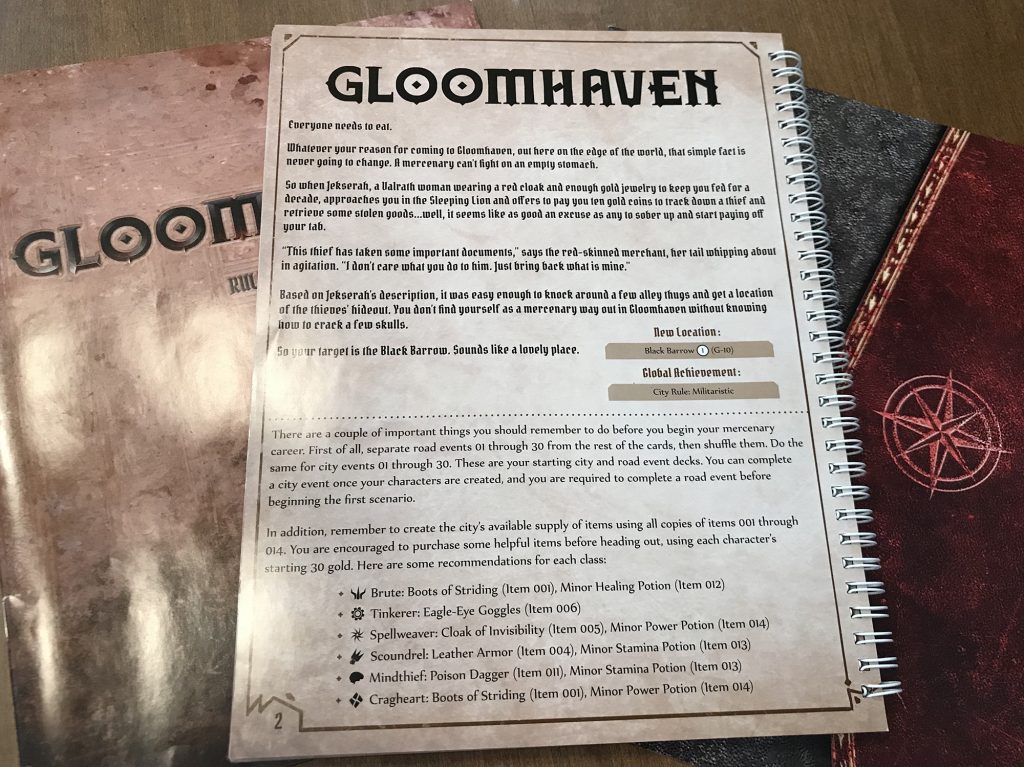
Read between the lines. If there is an NPC to protect in a level, then you’ll know you need to focus on crowd control and potentially chasing down that NPC. Or maybe you won’t move much at all and know you can be aggressive with big attacks and burning cards to negate damage. Is there a point on the map that the entire party needs to reach? Then you know you will be running a lot. Fighting every enemy will likely get you killed. Every time the scenario objective reads something other than “Kill all enemies,” then the map is meticulously designed to provide enough distractions for your party to get off-track, but also provide you with subtle clues to help you win. Pay attention to obstacle, trap, doorway, and difficult terrain placement as they often can be utilized in your favor. Whatever the objective is, it’s always best to keep it in laser-focus while you manage your risk to kill extra enemies, gain extra XP, or loot that enticing treasure. Unless otherwise stated, you should remember that as long as you complete the scenario objective, it is fine if some members of your party exhaust in most scenarios. The scenario will ramp in difficulty as each party member exhausts. But as long as one player completes the objective, the party collectively wins.
Bring the Right Tools for the Job – Refitting Your Hand
As players become familiar with their characters they may find that key favorite cards start to shape how they build their character. Some players enjoy utilizing certain “builds” they see online. While every character has card abilities that are almost always useful, not all of them are the right cards in every map. Certain scenarios may require you to rethink what abilities you are bringing to the table. Players sometimes forget that all level 1 cards and X cards are always available no matter your character level. Some of these are more suited for certain scenarios than your high-level options.
As mentioned above, some scenarios require you to run fast and avoid enemies. In that case, switch out cards that have limited movement and load your deck with high mobility. Don’t underestimate the value of those “jump” cards. Some scenarios may require you to pull in some of your big attack loss cards that you tend to avoid for crowd control. If your party is stuck on a scenario, try looking at your cards and switching out things that will better fit the enemies, map layout, and scenario rules.
Lastly, this is also a good strategy to employ when new characters join the party. Because your team is constantly shifting as characters retire, you may want to refit your hand when you see the abilities of the newly introduced characters.
Should I Stay or Should I Go? – Managing Initiative
If I were to rank the top most valuable skills to learn in Gloomhaven, it might be managing your initiative. Highly overlooked in importance, your entire party firing on all cylinders in initiative selection can mean the difference between repeated success or failure.
Initiative is not merely about “turn order.” Your initiative has a number of implications: it determines when you, your allies, and monsters move and act. It also determines when some abilities activate and conditions wear off. And of utmost significance, it determines the pecking order of who gets attacked in your party. Players may be tempted to think that they always need to get the jump on the enemy and go early. But that’s not always optimal. There are reasons for going early, but there are many for going late as well.
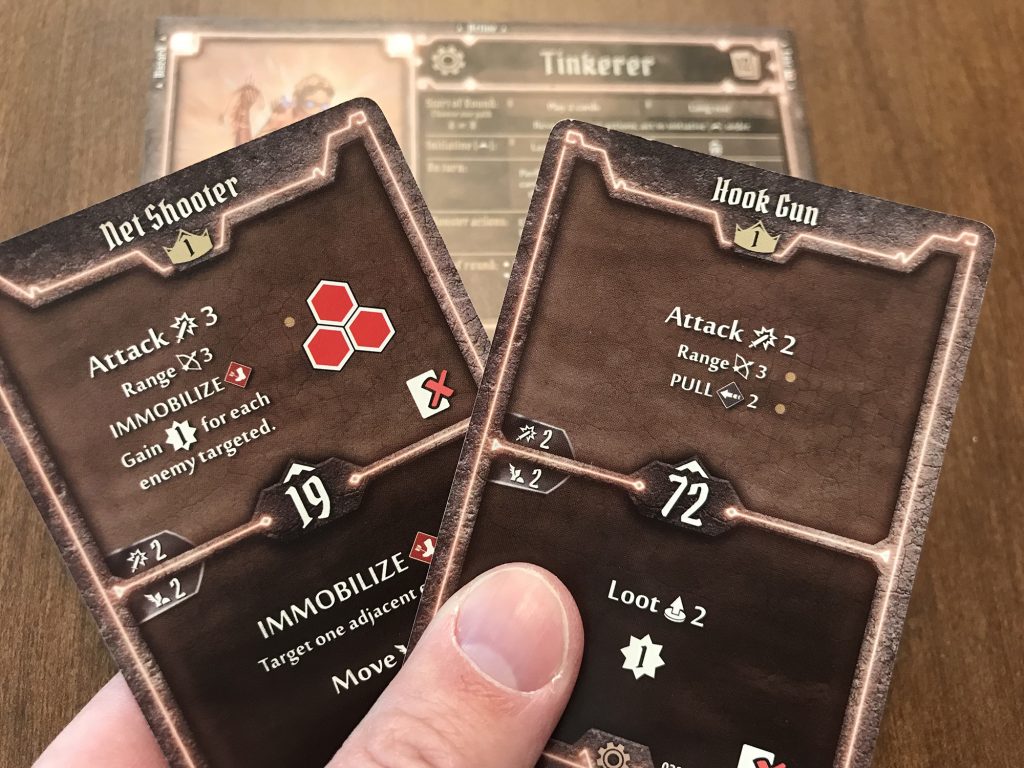
For example, if you are a character that utilizes Invisibility (like the Mindthief), then you want to alternate going early and late. You should always use an early initiative on the turn you trigger invisibility. Hopefully you will turn invisible before all enemies act and therefore get an entire round without being targeted. But what if you could extend that another round for free? You can! Conditions like Invisibility and Strengthen wear off at the end of a player’s next turn. So on your next turn select a very late initiative and most of the monsters will activate while you are still invisible! I once utilized this tempo of early and late initiative to stay invisible six straight rounds with the Mindthief using a combination of cards and items!
There are some abilities and items that can summon allies into play. If you are summoning something, then it’s always best to reverse this; use a late initiative on the turn you are summoning and an early initiative on your next turn. Summons never activate on the turn they are brought into play. A late summon initiative means that your newly-summoned friend will hopefully avoid being attacked while it clears its head. Then on the next turn, go as early as possible so it gets a few swings in before it draws the attacks of your foes. This can help keep those summons alive to have more impact. Sure there can be reasons to summon early, such as if you desperately need a meat shield in a key position. But usually you want to summon with a late-early pattern.
Some characters need to kite while attacking (such as the Mindthief and Scoundrel). Using a late initiative when far from enemies can often allow them to move within range so that you can strike when it’s your turn. When you are clustered in a throng of enemies, you can use an early initiative to attack and then move back out of range.
Without spending too much more time on initiative, it’s important to note that a key survival technique in any party is when players strategically retreat and cover one another. Initiative helps with this because enemies often attack by initiative tiebreakers. Using a late initiative can ensure that other teammates continue to draw fire and spread the damage among the party, while buying time for you to recover.
Going Big Or Small – Hand Management
We’ve all been in situations where all characters exhausted before the party finished the objective. That’s often due to hand management. Knowing how to utilize your Lost and Discard abilities will help you stay in the game. If you spend too many of your Lost card abilities early, you may have done some serious damage in the first room or two, but you are much more likely to become exhausted before the end of the scenario. This is due to some hidden math in the game that’s based around the characters’ starting hand of cards.
The cards in-hand determine your character’s stamina. As you play through your cards you slowly start losing stamina until you need to rest and lose a card permanently. Now your stamina is permanently decreased. If you use Lost abilities, this exponentially accelerates the rate at which you exhaust because it shortens your maximum allowable turns. Did you know that playing Lost cards early also greatly decreases the max turns you have than if you play the same Lost ability later in the game? A Brute who plays a Lost card before their first rest loses 4 turns in the game, compared to if they placed that same Lost card toward the end of the game, where they might only lose 1 turn.
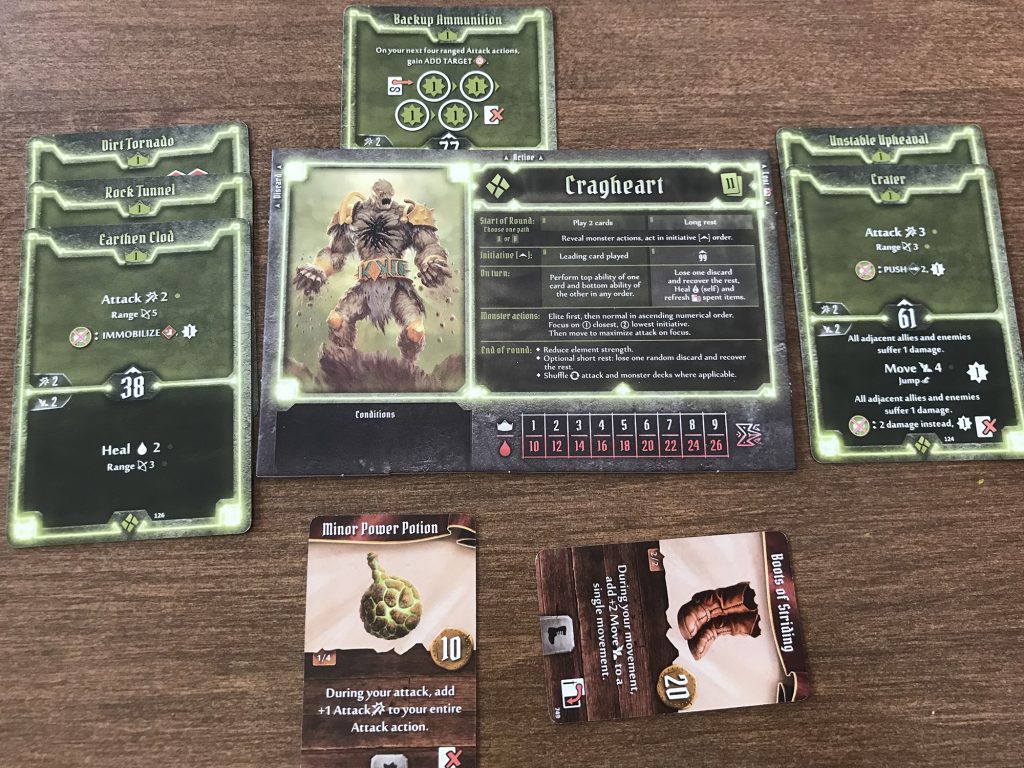
If you want to learn more about the math behind stamina, which directly affects how many turns you have before you exhaust, check out this excellent article. But don’t hear me say that you shouldn’t use those Lost abilities. They are often the most powerful abilities your character has (and usually bring hefty XP with them). Definitely do not use your Lost ability if it’s not going to give you the best bang for your buck; sometimes it’s better to switch to using that basic “Attack 2” or “Move 2” option. Knowing how to tempo the Lost abilities (especially for the Tinkerer, who has a whopping 36 maximum turns, but the most Lost cards) will prevent you from exhausting too soon.
A Good Defense – Don’t Forget Your Damage Negation Power
On that note, don’t forget that you can Lose a card from your hand or two cards from your discard to negate damage. This is a valuable tool that most new players forget. But use this technique sparingly. You only want to do this when it’s absolutely necessary to keep you alive. You should always prefer losing a card from your hand rather than two from your discard pile because the latter will greatly decrease the amount of turns you have left before you exhaust. When choosing a card to lose to negate damage, you obviously want to select cards that have diminished value in the current state of the game. Don’t lose your healing cards early in the game. But those heal cards may not be of as much value in the late-game when you’re concentrating on finishing off the last monster or two. When in doubt I often select cards with Lost abilities, counting it a tragedy I didn’t get to use them. But I would rather keep cards that can have repeated use and cycle through my discard pile.
Communication Is Key – Talk To Your Teammates
So far we’ve discussed strategies related to beginning your game: checking the objective, setting up your hand of cards, utilizing initiative, and selecting abilities. Now let’s expand the strategy to your allies. Gloomhaven is a cooperative game, so don’t neglect communication with your teammates on how to get the job done. Many people focus on the “silence” of selecting your initiative. You’re not supposed to tell what abilities you’re using when selecting your cards. But from what I’ve observed, this can carry into the rest of the round and lead to less than optimal results. That is, players each start taking turns executing their abilities without considering what each other have planned.
Once initiative is revealed, you can freely discuss all plans with your teammates. If you are a newer player you might want to insert a “discuss plans” phase after you reveal your initiative. Have everyone share what abilities they were thinking of using. Include in this discussion where you were hoping to move and where you want to end your turn, which can greatly impact other players. Your team can quickly get clogged in a tight hallway and unable to move or execute attacks because one teammate was out of position.
As you become more experienced you may not need to have a “discuss plans” phase. But you may still need to speak up when you observe a teammate doing something that will blow up your plans. Ask them to pause and share what you were intending. As a team, sort out which of the approaches would be more effective. Maybe one of you needs to switch up your plans to allow the other to have a bigger play (we will hit on this more later).
Understand The Enemy – Examine Enemy Abilities
Another strategy that is easily overlooked right after revealing initiative is checking the monster ability cards. It’s tempting for that first player or two to start moving and acting, and before they know it they’ve been lured into an enemy AOE attack that will now affect many of their teammates.
I often like to glance at what the enemies are doing before anyone moves. Some enemies like to turtle and heavily shield themselves. There’s little point in wasting your movement and attack on enemies with that behavior. Sometimes enemies that have been slow moving will do a sudden rush attack. Some enemies won’t move, but if you’re standing near them they will hit multiple times. It’s good to know how each enemy will behave because you might need to say “let’s not go for that one or you’re going to get hammered this round.”
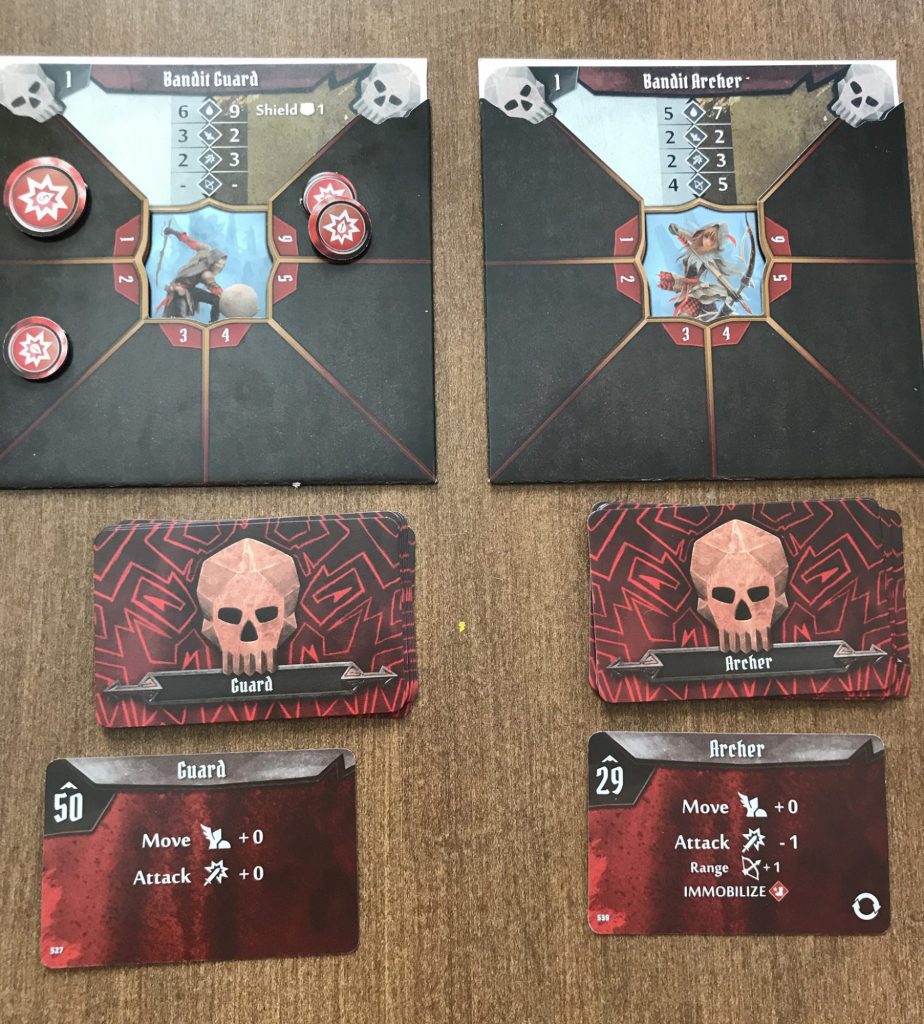
Knowing how the enemy will move and attack will allow you to get a visual on the board space for your team. You’ll know where safe spots are to stand by turn’s end. You’ll know which enemies are vulnerable and which ones aren’t. You’ll know which enemies you can ignore because they’ll be out of range for their attack and thus choose to focus-fire elsewhere. Whatever you do, don’t ignore the monster ability cards!
Where Should I Stand? – Position Awareness
If you couldn’t already tell, there’s a lot to consider when approaching your battle plan. Where you start and intend to finish your turn should not be taken lightly. As you are selecting your cards each round, consider the distance to the enemy and the range required to move or attack. If you are too far out of reach, consider a late initiative to draw them in. As mentioned above, knowing what the enemy will do can help you know if it’s safe to proceed with that move-attack you were planning or if you will get pummeled because you were left in the open.
Positioning is a major part of Gloomhaven starting with the very first scenario. Where you stand on the map can often be just as important as what type of attack you are planning. Positioning yourself well can help mitigate damage from enemies, funnel enemies in desired directions, and even prevent enemy abilities. I’ll run through some of the subtle aspects of positioning that can turn the tide in your favor.
First, you and your allies can position yourselves to spread enemy attacks. If your party has a dedicated tank (like the Brute), it’s fine to often keep them in front to absorb some damage. But sometimes you don’t have an available tank. And sometimes the poor tank needs a break. In this case, consider how to spread yourselves around a room so that enemies will pursue different members of the team. One person doesn’t need to needlessly absorb every point of damage. Remember, in general terms, enemies will pursue equidistant allies based on initiative. Use that information to thin out a crowd.
You can also use position to put ranged enemies at disadvantage. Many ranged enemies have stationary attacks or low movement. They prefer to fire at you while you sustain damage at distance. Your party can often hem enemies in at close range. Ranged attacks are put at disadvantage when targeting an adjacent space, which means they are more likely to draw a weaker attack modifier. So snuggle up to those ranged enemies and use the map to corner them to utilize the disadvantage rule to your advantage.
Another way to thwart enemies is to block their summoning. A number of enemies will summon duplicates or other minions. But summoned figures can only be summoned on empty spaces adjacent to the monster performing the summoning. That means no coins, no treasure tiles, no obstacles, no water tiles. Your team can often surround the remaining empty spaces adjacent to such monsters and prevent them from summoning their friends.
Your party can use positioning to clog enemy advancement. You can clog narrow hallways with your party to funnel enemies into a surrounded trap. Positioning yourself on the walls of doorways can limit how many times you are targeted by ranged attacks. And if you really want to frustrate melee enemies, have a tank stand in a doorway while the rest of your party throws ranged attacks from behind. Or better yet, if you or a teammate utilizes invisibility you can have them stand in a doorway and turn invisible. Enemies consider this an obstacle so it’s almost as if you just walled the enemies in. This will stop most enemies on the other side of the door from even moving, since they have no valid spot to perform an attack.
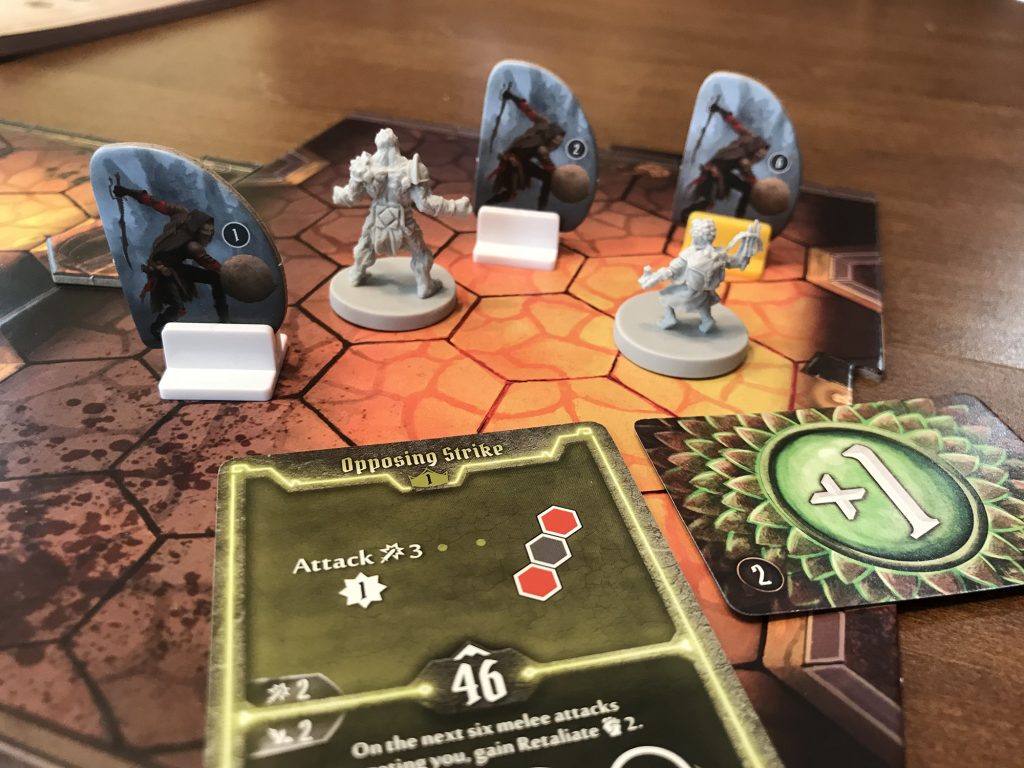
Lastly, positioning is of utmost importance when you prepare to long rest. A long rest already gives you the advantage of initiative 99, which means your allies will likely draw enemy attacks before you. However, if you are standing closest to the enemy and your allies are a bit out of reach, you may become an enemy pincushion while trying to catch some Zs. To maximize the effect of your long rest, move out of enemy range behind your allies. This takes some forethought. When you are down to your last two cards before you must rest, you may not want to play abilities that have you pulling a Leeroy Jenkins into an enemy mob.
Count the Cards – Track Your Modifier Deck
As you are playing the game you’ll be flipping through your attack modifier deck to inflict damage on your enemies. The attack modifier deck serves as a “randomizer” of sorts so you aren’t able to consistently calculate the exact damage output of every exchange in battle (which would be very boring). So instead of cliched dice-chucking we have the attack modifier deck. Some are quick to sideline this as just a different version of dice, which leads them to disregard the value it brings into battle for a few key reasons.
First, the attack modifier deck can help inform you of statistical odds of success when going for big attacks. There are few things worse in Gloomhaven than lining up a big swing with a Lost card ability and drawing the infamous null. For the most part, you cannot control when it appears. However, you can know the odds of it coming up. Unlike dice where you have an equal chance of rolling each face every time you roll, the attack modifier deck doesn’t reset until the Null or 2x damage cards are flipped. So let’s say that mid-game you’ve made it through 10 of your 20 attack modifier cards. You have a 1 in 10 chance of pulling the Null (or the 2x). Later, let’s say there are 4 cards left. Now you have a 1 in 4 chance of pulling the Null. At any point you can look through which cards you’ve flipped and think “what are my odds of pulling that Null or 2x attack?” and factor that in your decision to go for the big Lost card attacks. If you really want to guarantee success, give your character Advantage either through an item or a Strengthen ability (in which case you’ll always bypass the Null attack in a standard deck).
Second, the attack modifier deck is part of the game design that actually borrows from the deckbuilding genre. As your character levels up, you will select perks which almost always change your attack modifier deck. You can often add or change out cards for stronger cards. For newer players, I strongly recommend selecting perks that “thin down” your attack modifier deck before going for the others. Character perks often say things like “remove two -1 cards,” “remove two +0” cards, or “replace one -1 card with one +1 card.” I always select these perks before selecting any that simply say “add +X card” or perks that add rolling modifier cards into the deck. The premise is based on basic deckbuilding principles: your attack deck gains strength as you remove unwanted (negative or +0) cards and instead turn them into desired (positive, +1, or +2) cards. And the slimmer your deck is, the higher odds you have of pulling those desired cards.
Change of Plans – Be Willing to Adjust Your Abilities
Finally, in the thick of battle you may discover that your best laid plans are not the best plans after all. As you synthesize all of the above tips, you may discover that your positioning isn’t just quite right, your teammates have a better play in a spot you were intending to be, or the enemy modifier deck shows something that would put you at great disadvantage. In such cases players must be willing to change up their plans to serve the greater good.
Every round players select two cards to play. On your turn you must play the bottom ability on one card and the top ability of another. But when you are selecting cards, you are not committing to which card will be your top ability and which will be your bottom. Before your turn rolls around, put all the other steps into practice. Watch what your allies do. Communicate plans with each other. Pay attention to monster activity. And when it’s your turn, be willing to change which top ability and bottom ability you are using if needed. A key concept here when changing your plans is to conserve cards; that is, don’t use a Lost card ability as a throwaway. Remember that basic “move 2” and “attack 2” feature on all of your cards.
A Victorious Return
Fighting your way through the dungeons of Gloomhaven will always provide a challenge. Even though I’ve played over 100 times, it’s still more often than not that my friends and I find ourselves in awe of how close each scenario comes to failure when we succeed. And I still encounter a loss at times. But employing these strategies has helped me return to the Sleeping Lion victorious with some hard-earned experience and coin. Enough coin to at least grab a good meal before the next mission. After all, “Everyone’s got to eat.”







I would like to say it is also underrated to know your playstyle. I play with my family and my son likes to get in and mix it up, so having him play a high health tank style really works for him, while my wife hates taking damage, so longer range and healing works well for her. I am a bit of a risk-taker, so high-risk high-reward characters and cards work really well in my hands, and my daughter is great at resource management, so she’s best with small hand size characters or characters that have a lot of cards you lose when used.
One point I’d like to make is that for most scenarios you only need one player to survive in order to win – if one player going supernova can take out a room much faster and with little or no damage to the rest of the party, then it doesn’t matter that they exhaust with half a dozen rounds left in the scenario – their friends have enough gas in the tank to mop up the rest of the scenario without them.
If everyone burns bright and fast, then you’re going to struggle, but one character playing kamikaze can work at least as well as, or better than, having the entire party playing conservatively and holding back their loss cards.
Wow, this is such a great article. Combined with the link to the stamina calculator it gives a tremendous amount of insight. It also makes it very easy to explain to my fellow players the intricacies of this very intelligently put together game. Thanks, Justin, for this piece of clarity.
thanks, just getting going on steam and found it useful