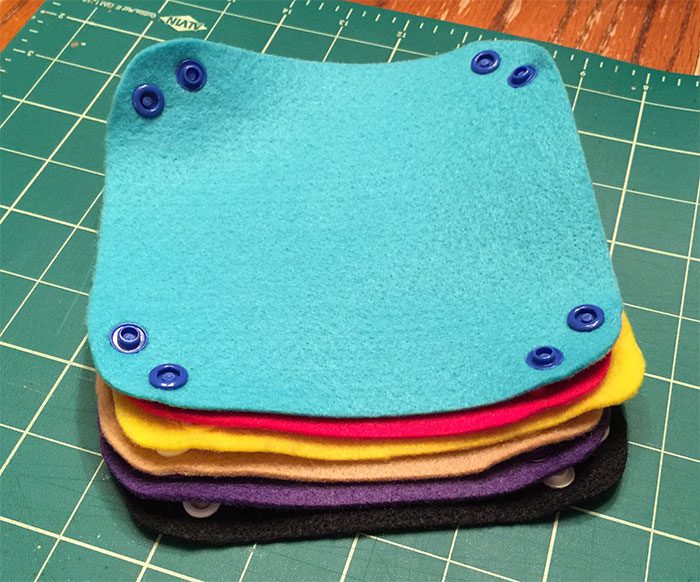
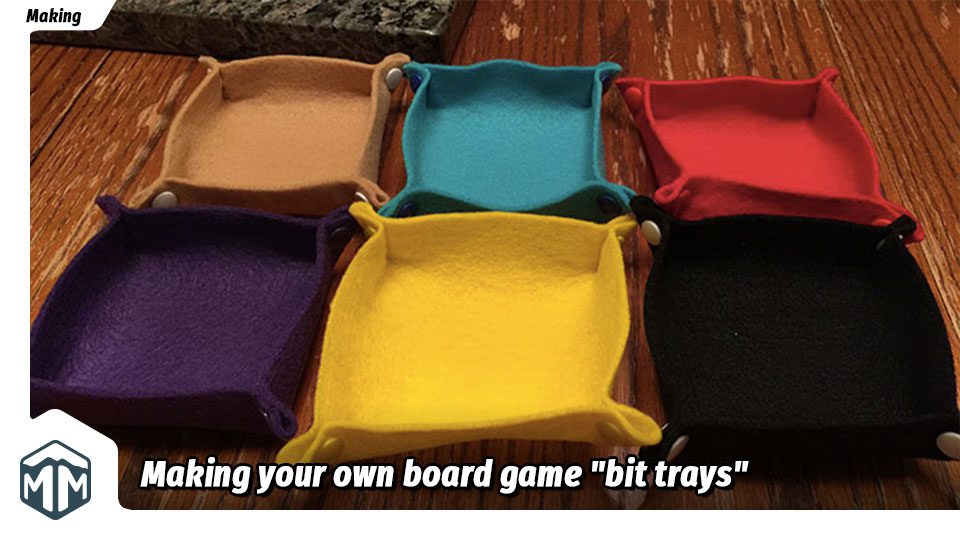
In this article I’ll be walking you through the steps needed to make cheap, attractive, practical, and easy to store “bit trays”. Use these trays to hold cubes, carboard chits, dice, or even snacks (if that floats your boat). With just a small amount of initial cost, you can make enough for all of your gaming needs.
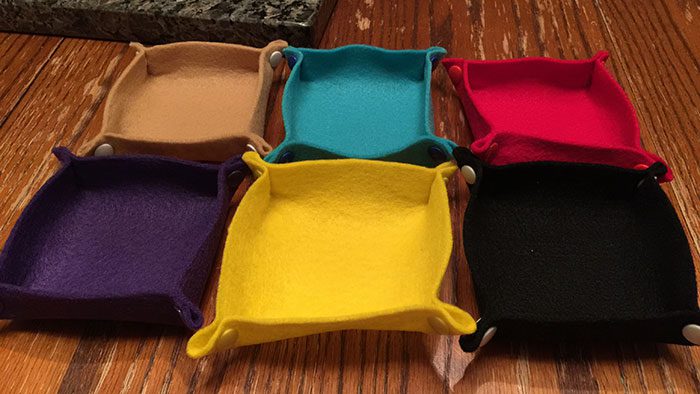
About a month ago twitter boardgaming powerhouse 425suzanne posted some information about some bit trays she had made. A veritable torrent of people, including myself, replied asking her for details which she was kind enough to provide. I’ve taken her instructions and tweaked them slightly for needs. Let’s see just how easy it is to make these “bit trays”.
Supplies
First up, you’ll need some supplies:
- A KAMSnaps tool. I purchased one from Amazon for $21.87 which included 100 snaps in assorted sizes and colors. This pack also included an awl for punching small holes.
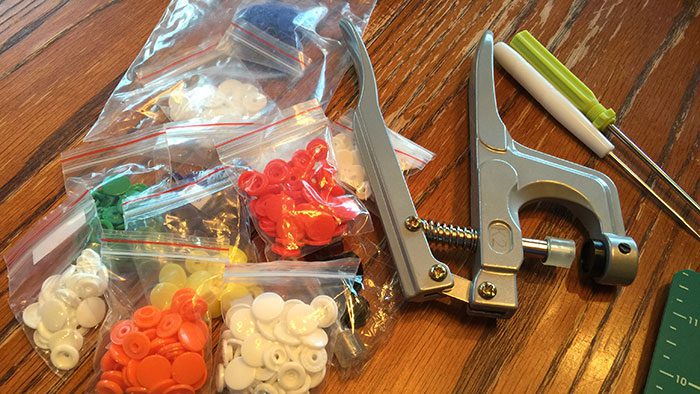
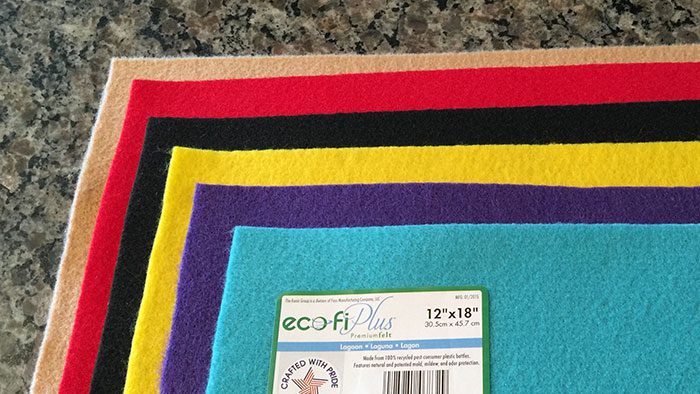
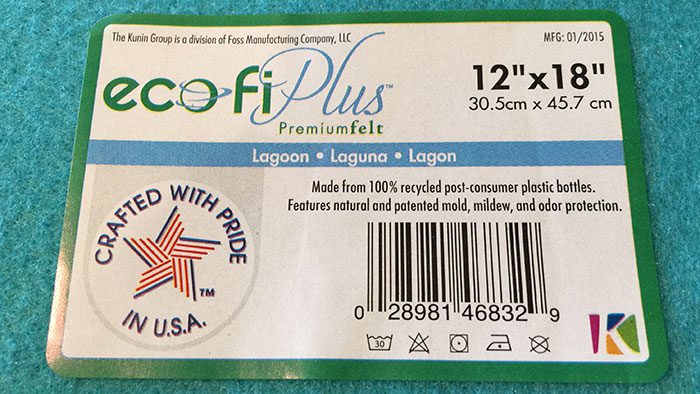
- Felt. Suzanne specified 3mm thick felt, but Jo-anns didn’t indicate the thickness. I purchased a variety of colors, but all the same size.
- Scissors
- Ruler
- Cutting board
- Awl or icepick if you didn’t get one with the KAMSnaps tool
- A template
Before You Start
Before we get started, these bit trays are made from a 6in square piece of either 2mm or 3mm felt. Suzanne’s bit trays were made from an 8in piece. I chose 6in for two reasons:
- They’ll take up less room on the table
- The largest sheet of felt in an acceptable thickness was 12×18. Doing the math that gives me 6 bit trays per sheet; not too shabby for $1.49 a sheet.
You can totally choose the right size for your needs. There’s no magic size. You’ll just want to pay attention to the placement of the snaps as that dictates how tall the sides are.
Prepping the Felt
Measure and cut the felt to the desired size. I used an exacto knife on a self-healing cutting board with a metal rule as a guide. I knew it would be plenty sharp enough, and perfectly straight cuts are a cinch. If you’re making more than one, cut all your sheets at once to save time.
Create a template to make it easier to mark the correct spots on the felt. I created a double sided template from heavy card stock: a 3in template on one size, a 4in template on the other. Then I laminated it…up to you. I’ve marked the measurements on where to put the hole in the template.
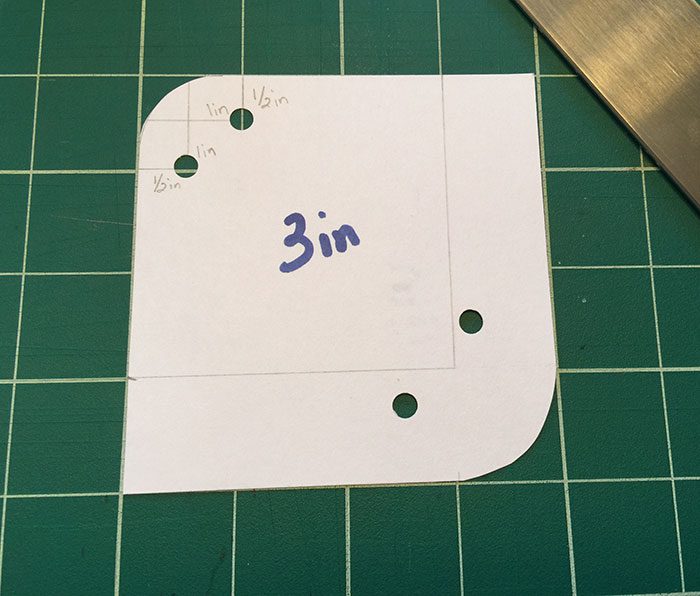
After you’ve marked the felt, this is what it should look like:
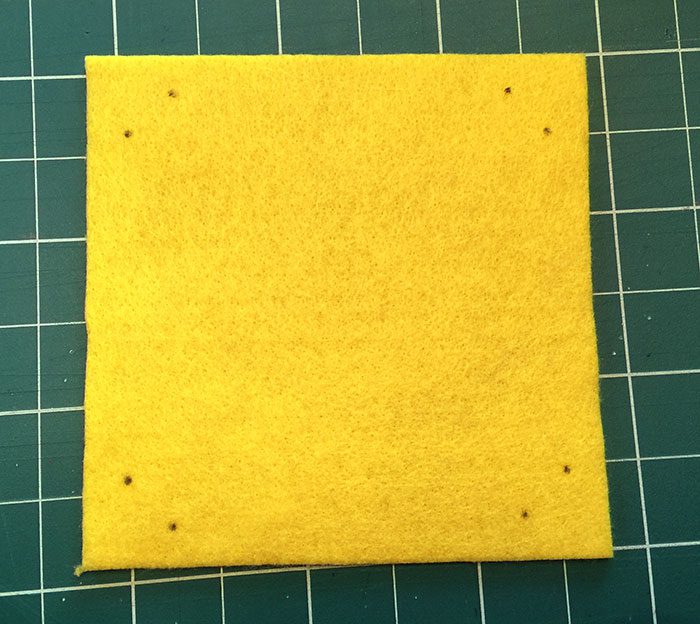
Take your awl, or icepick, and carefully push it through at the exact spot where each dot is. Push it in enough that it’ll leave a small hole.
Getting the Snaps Ready
KAMSnaps range in size from 16 to at least 22. The smaller numbers indicate smaller sizes which for me was unexpected; be aware. Suzanne’s original post indicated that she used size 16. I ended up going with 20 because 16s weren’t included with the tool, plus the KAMSnap tool was already setup for 20s when I got it. Yay!
Snaps have 3 distinct pieces.
- Cap: This looks like a thumbtack and is the part which will be inserted up through the felt.
- Stud: The protruding portion. Will be inserted into the socket to secure the snap.
- Socket: This is the part that will receive the stud.
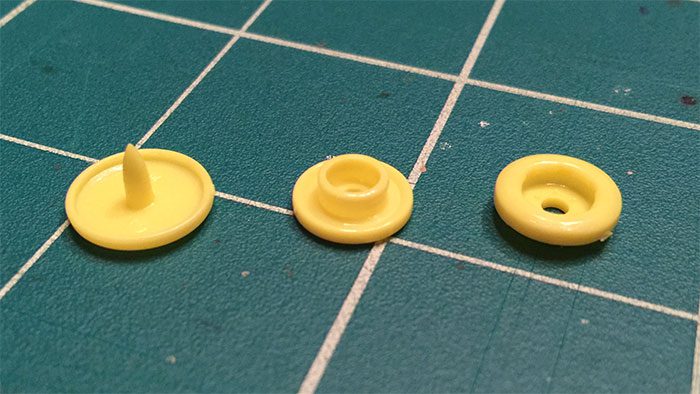
You’ll use 2 caps, 1 socket, and 1 stud to complete a single snap, and you’ll need 4 total snaps. While it doesn’t matter where you put your snaps, as long as you have a matching set, I like the symmetry of always putting the socket part of the snap on the left side of the corner, all the way around.
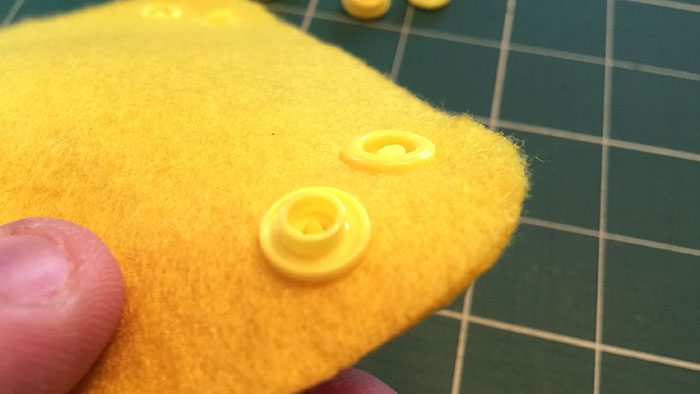
Doing the Deed
Grab a cap and socket. Poke the stem of the cap up through the hole you made previously. Place the socket over the top of the stem, then place the whole assembly into the KAMSnaps tool with the stem facing up. You should be holding the tool with the spring on top, which will allow the cap/socket assembly to slide right into the black plate. Line up the top and bottom sections then squeeze the tool together firmly.
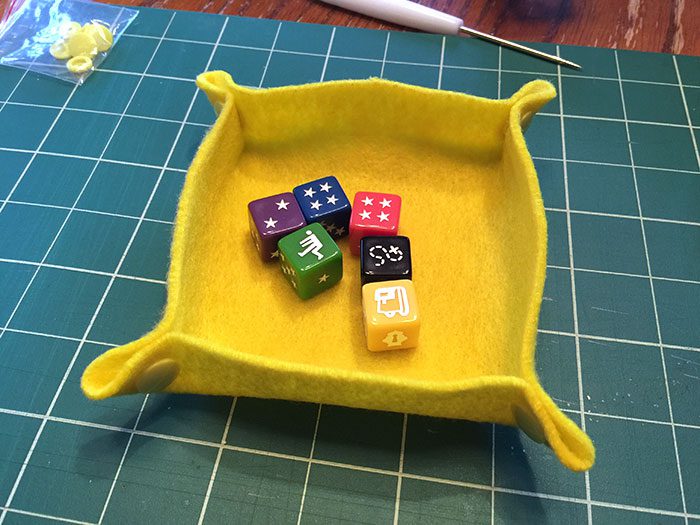
Repeat with the cap/stud assembly, then repeat each corner until you’re finished. The resulting tray should look something like this (Siblings Trouble dice not included).
A Few Notes
The first one I made had sides which were taller. While this did make the footprint of the tray smaller, it made the sides too tall, with not enough flat space inside. I tweaked it to make the sides shorter and I like it better.
I didn’t round the corners until after the snaps were already in place. For some reason it was easier that way for me.
The Wrap Up
All in all this was a fun, easy, and relatively cheap project. I had to purchase the tool and the felt which all total cost me $33. If you subscribe to the Jo-ann mailing list, they’ll send you a coupon for 20%-30% off your entire order. I even had my 10yo daughter and 7yo and 5yo sons. They all took turns squeezing the KAMSnaps tool and loved it.
I can’t wait for the comments I get the first time I pull these out during game setup!
